Buckeye asked me to makes some photos of the clip LEDs, which
@Rick Sykora had described in another thread and made for me. He sent them to be included in the build, for which I am grateful.
His trick is slick. He sandwiches LEDs through two pieces of stick-on Velcro, and sticks it down to the inside of the case with the LED's poking through a hole in the half of the Velcro that is stuck down. To remove, one peels off the top layer of Velcro and the LEDs can just be pulled out. I wish I'd thought of that!
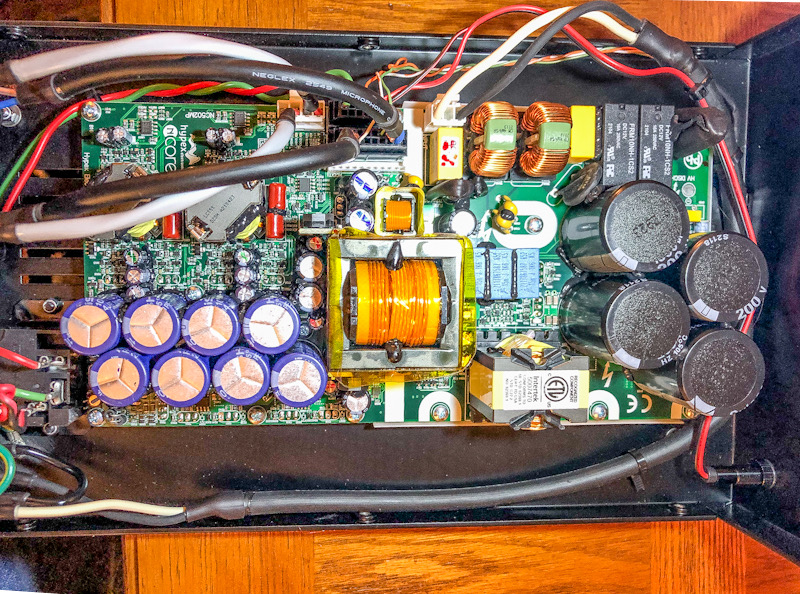
Here's a photo of the interior of the Buckeye NC502MP in the small stereo case:
The front is to the right. Lower right is the power LED. The clip LEDs are operated by the small wires coming out of the main connector at top center in the photo.
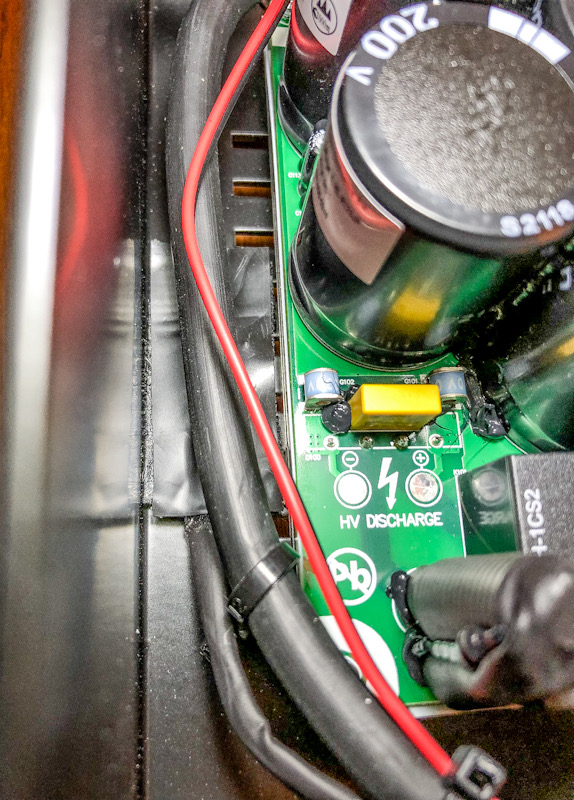
Looking from the upper right in the photo above, here's the space between the module and the front panel, showing where the clipping LED's are installed:
The small wires are in heat-shrink coming straight down from the Velcro. Front panel is at left.
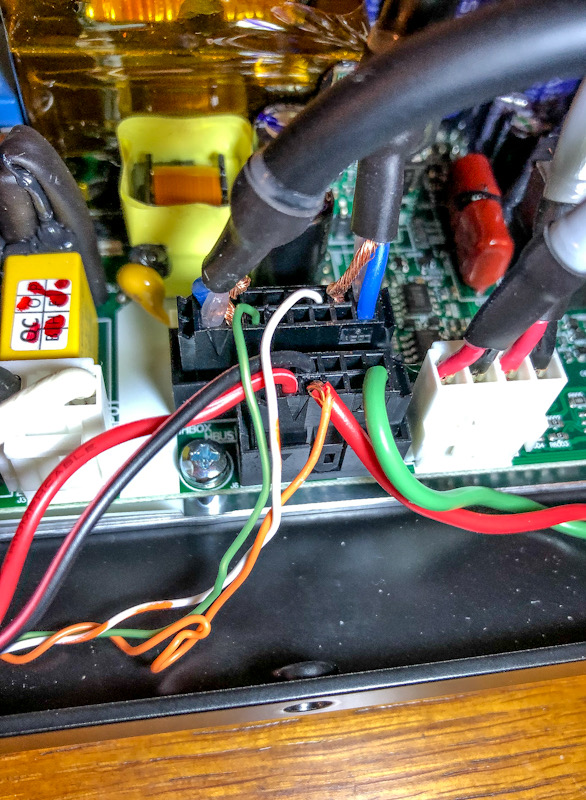
Here's where the wires are attached in the main connector:
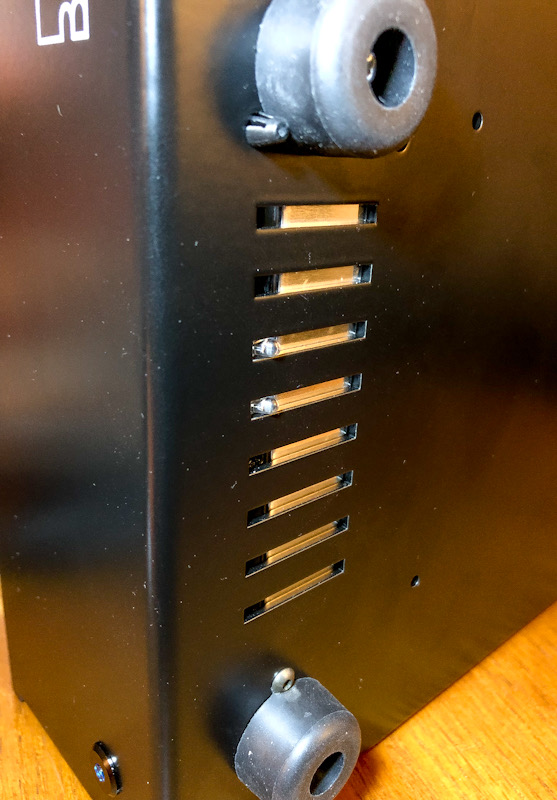
And, for the part most will care about, here's where the clipping LEDs are currently installed. They protrude from the bottom vents, so they are not normally visible from the front, but presumably will be if they light up. Hint: With this arrangement, playing the system really loud might rest the amp on its top (with space!), which might actually help with cooling, too, since the heat-radiating surface is along the bottom of the module. This is the bottom, with the front at left.
After getting used to the amp and being sure of my arrangement, I will probably drill a couple of holes in the front panel right above there these stick down.
Rick "not time yet to try it out" Denney

")

 I'm not saying that this is other's need, but I believe there is one.